Not sure how to set print area in Google Sheets? Scroll below!
Microsoft Office set the benchmark of what an office suite should be like. It was preferred by mostly all office goers to input data in Excel or write articles in Word but soon, its bubble of being the only of its kind was burst by Google’s very own web-based office suite. Google’s offering is free whereas one needs to pay for Microsoft suite. Although, free doesn’t necessarily mean bad quality; It translates to huge accessibility.
Google Sheets is a worthy MS Excel opponent and many office-goers use it for its various features. Many users ask how to set print area in Google Sheets so if you have the same doubt, follow the instructions given in this article. So, let’s dive in!
How to set Print Area in Google Sheets
What you’ll need – A good browser (Google Chrome, Firefox, Safari, etc.) and an active internet connection to access Google Sheets.
To set Print Area on a browser
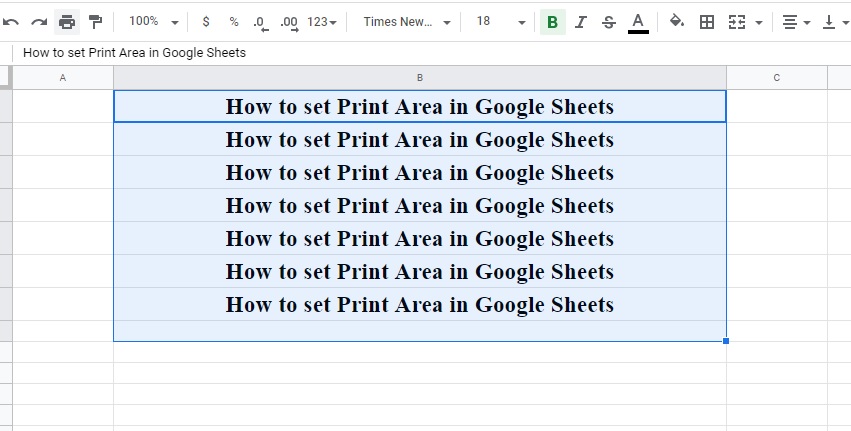
Step 1: Select the cells that you want to print on a specific portion of your Sheets. You can do this by clicking-and-holding the cursor in one corner and dragging it to the other end of the cells, thus creating a box shape which will be your Print area.

Step 2: Now click on File and then select Print. You can also hit the Ctrl + P keys on your keyboard.
Step 3: You’ll now be redirected to Print Preview.
Step 4: Here, you’ll see Paper Size, Page Breaks, Print Area, Scale, etc. Tweak the settings as per your requirements.
Step 5: Now click on Next on the upper-right corner.
Step 6: Change the following settings –
- Destination – Choose your preferred printer, Save as PDF or Save to Google Drive as PDF.
- Pages – All or specific.
- Pages per sheet (1-16).
Step 7: Select Print or Save. You can also save it as a PDF and then print it.
To set Print Area on the mobile application
Step 1: Launch the Google Sheets mobile app on your Android or iOS device.
Step 2: On your Android phone, click on the options button on the upper-right corner. iOS users can tap on the three horizontal dots.

Step 3: Click on Share & export.
Step 4: Now select Print.

Step 5: Select the printer of your choice, adjust the number of prints you want, and if there are any additional options, set them as per your requirements.
Keep in mind – If you’d wish to print one or more rows/columns recurrently on each page, select View and then click on Freeze. Now select the rows and/or columns that you want to print. before you proceed to print below.
Conclusion
Hope you know how to set print area in Google Sheets. The steps are quite easy and doing so will save you valuable time if you’ll printing the same view repeatedly.
What are your experiences of using Google Sheets? Have you used MS Excel? Which one do you prefer? Let us know in the comments below.
RECENT


